Repair or Replace a Loose Button: Choosing by Garment and Time
Repair or replace a loose button by weighing its job, fabric and your available time, so the fix suits the garment and holds up to everyday wear.
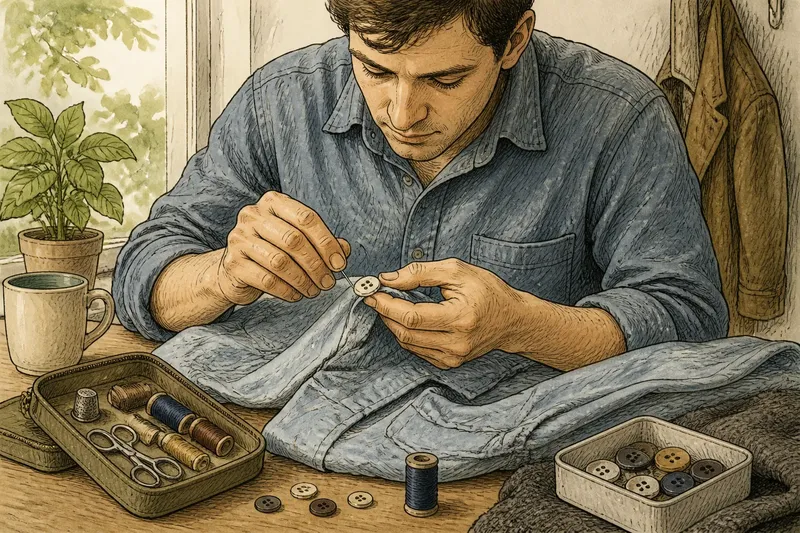
A loose button can turn a shirt into a small morning puzzle. To decide whether to repair or replace a loose button, look at what the button does, what the fabric can support and how much time you have before wearing the garment. The right choice may be a few careful stitches, a sturdier attachment or a matching spare.
What job does this button do?
Start with the button’s role, not its appearance. A button on a cuff or decorative pocket flap may face little strain. One at the waist of trousers, on a coat front or at the collar carries more pull each time you dress or move.
Check how it sits when fastened. If the garment pulls into wrinkles around the button, the closure may be under tension. A button that stays put but has a dangling thread often needs only reattaching; one that has repeatedly loosened may need a stronger thread path or a replacement suited to the garment.
Also notice whether the button is part of a matched set. Reattaching an original preserves the garment’s look, especially if the button has a distinctive finish or shape. If it is chipped, cracked, or missing a piece, a sound spare can be a better choice than sewing the damaged one back on.
When is a quick hand-sewn repair enough?
For a button that is intact and still matches, hand sewing is usually the simplest option. Gather a needle, thread close to the garment’s color, small scissors and the button. A thimble can help if the fabric is firm. If the original thread has mostly gone, remove the loose strands so they do not tangle with the new stitches.
Use a thread weight that suits the cloth rather than whatever happens to be nearest. Fine shirt fabric calls for a finer thread than a heavy coat. Thread the needle, knot the end, and work through the existing buttonholes, anchoring the stitches in the fabric beneath. Keep the button slightly raised from the cloth so it can pass through its buttonhole without straining.
On a thicker garment, the button may need a small thread stem, often called a shank. Without that space, the button can sit too tight against the fabric and be hard to fasten. A flat button on a light shirt usually needs less clearance. Think of the thread under a button as a tiny door hinge: it needs enough room to move, but not so much that it wobbles.
Say you notice a loose button on a cotton work shirt before leaving home, and the button is unbroken with no unusual pull on the placket. If you have matching thread and a few quiet minutes, sewing it back in the same position is a sensible repair; the expected visible result is a button that lies evenly and fastens without tugging. If you cannot give it a secure attachment before wearing the shirt, choose another garment rather than relying on a few hurried loops.
When should you replace the button?
Replacement makes sense when the button itself is damaged, the original has vanished, or another button from the set has already been changed. Look for a spare sewn inside a seam, attached to a care label, or kept with your sewing supplies. Compare its diameter, thickness, color and number of holes with the remaining buttons.
A close match is often more convincing than an almost-identical one with a different shine or thickness. For a button hidden beneath a collar or inside a cuff, function may matter more than exact appearance. For a visible coat front, take the garment or a remaining button with you when choosing a replacement so you can compare in ordinary light.
Check the buttonhole too. A replacement that is too large can slip through; one that is too thick may catch. If the hole has stretched or frayed, changing the button alone may not solve the problem. The button and buttonhole have to work as a pair, much like a latch and its catch.
How do fabric and available time change the choice?
Light, closely woven fabric can usually support a straightforward repair, but very thin cloth may need reinforcement if the button bears a lot of pull. Heavy denim, wool coating and lined garments can be harder to sew through neatly. Choose a needle that passes through the material without forcing it, and avoid pulling so tightly that the cloth puckers.
Time matters in a practical way. A quick repair is reasonable when the button is intact, the fabric is stable and you can sew without rushing. If the garment is needed immediately, a pin or loose temporary thread can snag or scratch; it is often safer and more comfortable to set it aside until you can make a proper repair. For a favorite lined jacket or a button attached through several layers, a tailor can handle the awkward access and preserve a tidy finish.
For specialty garments, follow the care label and any maker instructions; local rules may also matter for uniforms or required workwear. Otherwise, let the garment’s construction and the button’s job guide your choice.
What should you check before choosing?
Can I sew a button back on without a sewing machine?
Yes. A needle and suitable thread are enough for most ordinary buttons, and hand sewing gives you control over the button’s position and clearance. Use a thimble if the cloth is dense, and stop if the needle will not pass through without force.
How can I tell whether the button is too loose to trust?
Look for broken threads, a button that tilts away from the garment, or fabric that puckers when the button is fastened. If the button repeatedly comes loose at a high-strain spot, inspect the cloth beneath it as well as the stitching.
Should replacement buttons match exactly?
For visible buttons, compare shape, size, thickness and finish, not just color. A discreet button can be a close practical match, while a prominent one may call for a tailor or a deliberate replacement of the full visible set.
How can you make the repair easier next time?
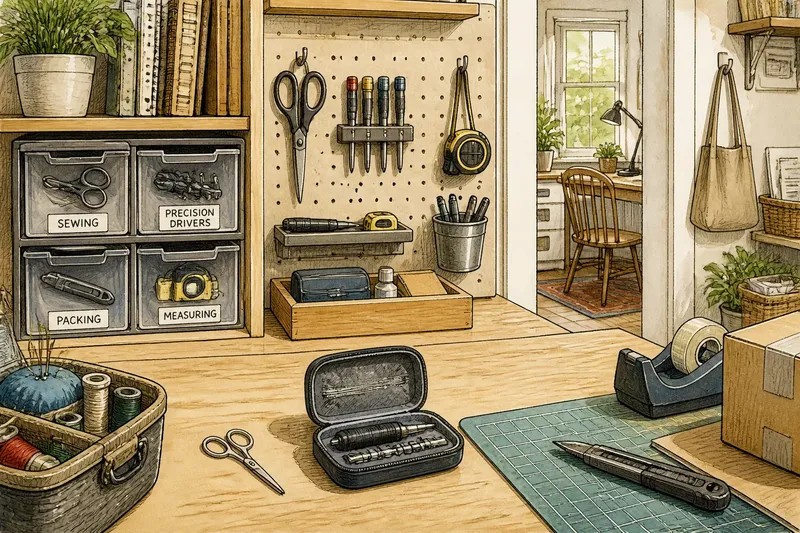
Keep spare buttons with the garment when possible, and store a small sewing kit with a few needles, neutral thread, scissors and a thimble. A spare is most useful when you can identify which garment it belongs to, so avoid dropping loose buttons into an unmarked tin.
After sewing, fasten and unfasten the button gently to check its clearance and position. Then look at the fabric around it for puckering or pulled threads. For a loose button repair, that final inspection is a small habit with a practical payoff: you can catch an awkward fit while the needle and thread are still in hand, rather than discovering it at the doorway.